Table of Contents
Introduction
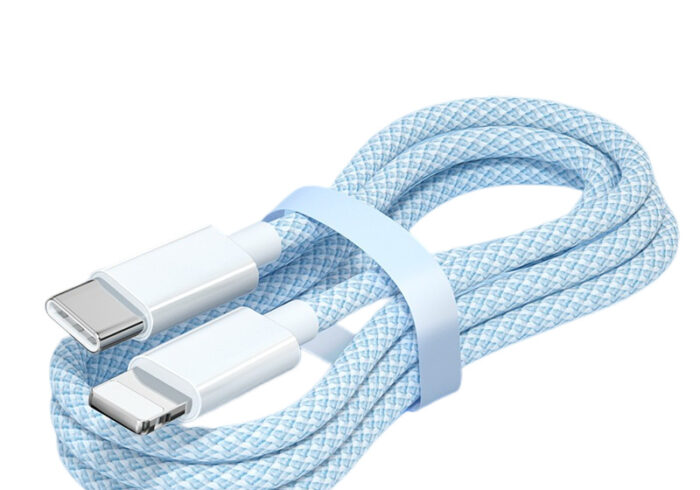
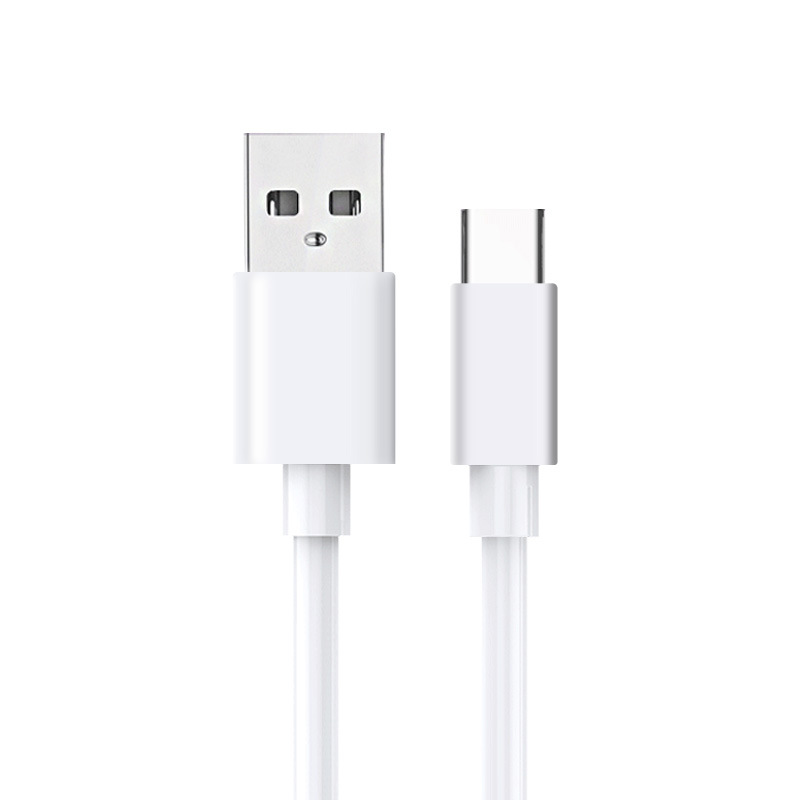
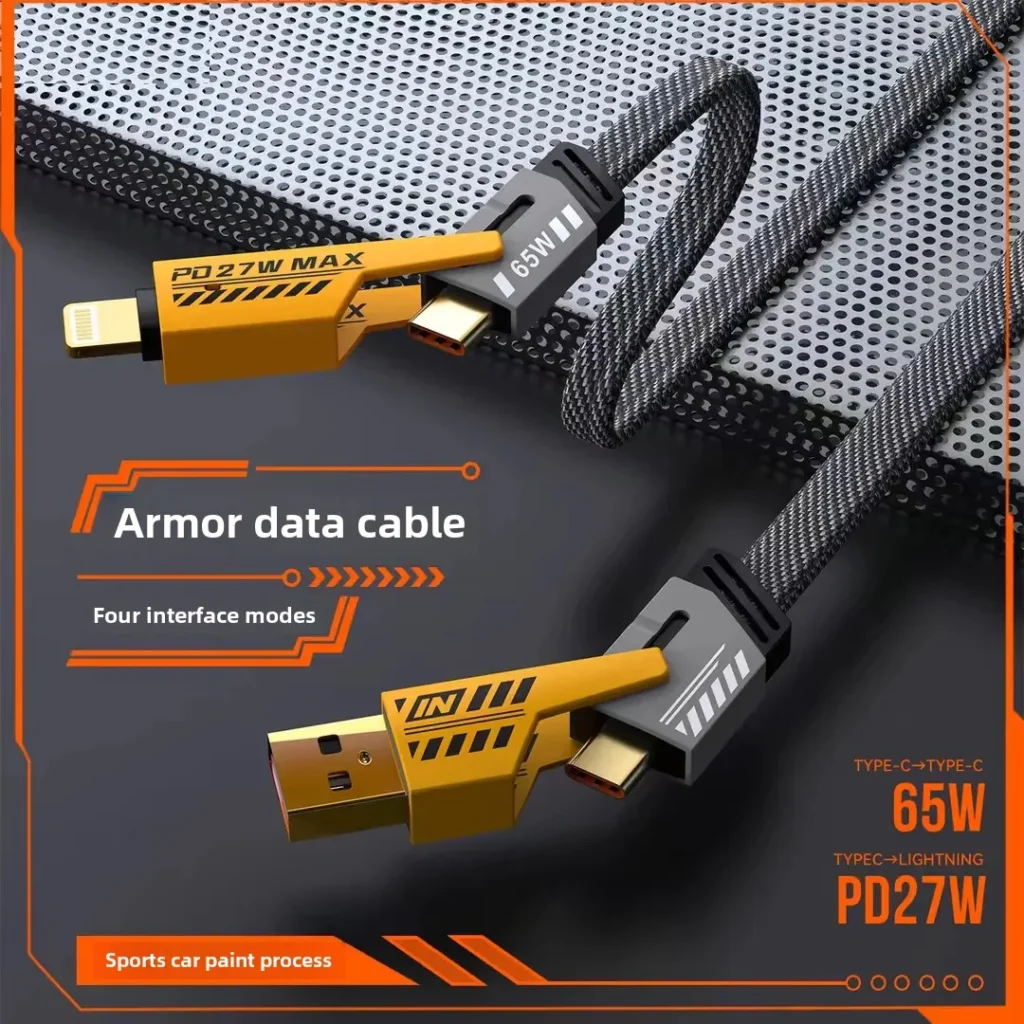
Charging cables are essential for keeping our devices powered and connected. However, with frequent use, these cables can become damaged, leading to frustrating charging issues. Whether you’re dealing with a frayed cable, a loose connection, or a faulty connector, there are several methods you can try to repair your charging cable before resorting to buying a new one. In this comprehensive guide, we will walk you through the common issues that can affect charging cables and provide detailed, step-by-step solutions to help you fix them effectively.
Common Charging Cable Issues
Physical Damage
One of the most common issues with charging cables is physical damage. This can include fraying, cuts in the insulation, exposed wires, and damaged connectors. Physical damage can occur due to bending, twisting, or pulling the cable excessively, as well as from general wear and tear.
Electrical Issues
In some cases, the problem may not be visible but rather electrical in nature. This can include faulty wiring inside the cable, loose connections, or a malfunctioning USB port on either the cable or the device.
Compatibility Problems
Another issue that can arise is compatibility between the charging cable and the device or power source. Using the wrong type of cable or adapter can result in slow charging or even prevent the device from charging altogether.
Tools and Materials Needed for Repair
Before you begin any repair work on your charging cable, it’s important to gather the necessary tools and materials. Some common items you may need include:
- Electrical tape or heat-shrink tubing
- Wire cutters or scissors
- Wire strippers
- Soldering iron and solder
- Multimeter
- Replacement connectors or charging port repair kit
- Epoxy resin or super glue
- Small brush or toothpick
- Isopropyl alcohol and a soft cloth
- Tweezers or needle-nose pliers
- Heat gun (if using heat-shrink tubing)
Step-by-Step Guide to Fixing a Charging Cable
Inspecting the Cable and Identifying the Problem
The first step in fixing a charging cable is to carefully inspect it for any visible damage or issues. Check the entire length of the cable, paying close attention to the areas near the connectors, as these are the most prone to damage. Look for signs of fraying, cuts, exposed wires, or damage to the connectors. Also, examine the USB port on the cable and the charging port on your device for any blockages, debris, or corrosion.
Cleaning the Charging Port and Connectors
If you notice any dirt, lint, or debris in the charging port of your device or the connectors of the cable, it’s important to clean them thoroughly. Use a can of compressed air, a toothpick, or a small brush to gently remove any obstructions. For more顽固的污垢, you can use a cotton swab dipped in isopropyl alcohol to clean the ports and connectors. Allow them to dry completely before attempting to charge your device again.
Repairing Frayed or Cut Cables
If the cable is frayed or has cuts in the insulation, you can try repairing it using electrical tape or heat-shrink tubing. Here’s how:
- Using Electrical Tape:
- Carefully cut away any severely damaged sections of the cable, if necessary.
- Wrap electrical tape around the frayed or cut area, ensuring that you cover the damaged part completely. Apply multiple layers if needed to provide adequate insulation and support.
- Trim any excess tape to ensure a neat and secure repair.
- Using Heat-Shrink Tubing:
- Select heat-shrink tubing of an appropriate size to cover the damaged area.
- Slide the tubing over the cable, positioning it over the frayed or cut section.
- Use a heat gun to evenly apply heat to the tubing until it shrinks and tightly conforms to the cable, creating a durable and insulating repair.
Fixing Damaged Connectors
If the connectors on your charging cable are bent, damaged, or have loose pins, you can attempt to repair them as follows:
- Straightening Bent Pins:
- Use a pair of needle-nose pliers or a small screwdriver to gently straighten any bent pins on the USB connectors. Be careful not to apply too much pressure, as this could break the pins.
- Replacing the Connector:
- If the pins are beyond repair or the connector is severely damaged, you may need to replace it. This will require soldering skills and tools.
- Obtain a replacement connector that matches the type and specifications of your original cable.
- Follow the manufacturer’s instructions to solder the new connector to the wires of the cable. Ensure that all connections are secure and properly insulated.
Repairing Loose or Corroded Connections
Loose or corroded connections can prevent your charging cable from functioning properly. To address this issue:
- For Loose Connections:
- Use a wire stripper to carefully remove a small section of insulation from the wires near the loose connection.
- Twist the exposed wires together tightly to secure the connection.
- Apply electrical tape or heat-shrink tubing to insulate the repaired area.
- For Corroded Connections:
- Use a corrosion remover or a mixture of baking soda and water to clean the corroded areas on the connectors or charging port.
- Gently scrub the affected surfaces with a toothbrush or a small brush to remove the corrosion.
- Rinse the area with water and dry it thoroughly. Apply a small amount of petroleum jelly to the connectors to help prevent future corrosion.
Reinforcing the Cable with Epoxy Resin
To add extra strength and durability to your repaired charging cable, you can use epoxy resin to reinforce the connectors or any weakened areas. Apply a small amount of epoxy resin around the base of the connectors or along the repaired sections of the cable. Use a small brush to spread the resin evenly and ensure good coverage. Allow the epoxy to cure completely according to the manufacturer’s instructions.
Testing the Repaired Cable
After completing the repairs, it’s important to test the charging cable to ensure it’s functioning properly. Plug the cable into a power source and connect it to your device. Check if the device begins charging and monitor the charging process for any issues. You can also use a multimeter to test the voltage and current output of the cable, comparing the readings to the specifications of a working cable to ensure it’s operating within the correct range.
When to Replace a Charging Cable
While many charging cable issues can be resolved through repairs, there are situations where it’s more practical and safer to replace the cable entirely. Consider replacing your charging cable if:
- The damage is extensive, with multiple frays, cuts, or exposed wires along a significant portion of the cable.
- The cable has been subjected to heat damage, such as melting or burning, which can create fire hazards.
- The repairs you’ve attempted are only temporary fixes and the cable continues to malfunction or poses a safety risk.
- The charging cable is old or outdated and no longer meets the charging requirements or compatibility standards of your device.
Conclusion
Fixing a charging cable can be a cost-effective and rewarding solution to extend the life of your trusted accessory. By following the step-by-step guide outlined in this article, you can address common charging cable issues such as fraying, damaged connectors, and loose or corroded connections. However, it’s important to know when it’s time to replace a severely damaged or outdated cable to ensure the safety and proper functioning of your devices.
How to Purchase:https://looperbuy.com/search?keywords=how+to+fix+a+charging+cable
Related Questions and Answers
Q: How can I prevent damage to my charging cable in the future?
A: To prevent damage to your charging cable, avoid bending or twisting it excessively, and don’t pull on it forcefully when disconnecting it from your device or power source. Store the cable in a loose coil rather than tightly wound, and avoid exposing it to extreme temperatures or corrosive environments. Using a cable with reinforced connectors or a protective sleeve can also add durability.
Q: Can I use a different type of charging cable with my device?
A: It’s generally best to use the charging cable that is specifically designed for your device to ensure compatibility and optimal charging performance. However, some devices may support multiple charging standards, allowing you to use different types of cables with the appropriate adapters. Always check the compatibility specifications of your device and the charging cable before using them together.
Q: How do I know if the issue is with the charging cable or my device’s battery?
A: If you’re experiencing charging issues, you can try using a different charging cable and adapter to see if the problem resolves. If your device still doesn’t charge properly, the issue may be with the battery or other components of your device. Additionally, you can check the battery status on your device (if accessible) to see if it indicates any problems.
Q: Are there any safety precautions I should take when repairing a charging cable?
A: Yes, safety should always be a priority when repairing a charging cable. Disconnect the cable from any power source before beginning repairs. If the cable has exposed wires or damaged insulation, be cautious to avoid electric shock. If you’re not confident in your ability to perform the repairs safely, consider consulting a professional or replacing the cable instead.
Q: Can I repair a wireless charging pad instead of a cable?
A: While this guide focuses on repairing wired charging cables, some similar principles may apply to wireless charging pads. However, wireless charging pads involve different components and circuitry. If you’re experiencing issues with a wireless charging pad, it’s recommended to consult the manufacturer’s guidelines or seek professional repair services, as disassembling and repairing wireless charging pads can be more complex and may void warranties.
Hot Tags: How to Fix a Charging Cable; Charging Cable Repair Guide; Common Charging Cable Issues and Solutions; DIY Cable Repair; Frayed Charging Cable Fix; Damaged Connector Repair; Loose Connection Solutions; Corroded Charging Port Remedies; Electrical Tape Repair Method; Heat-Shrink Tubing Technique