The installation of a Hotor brace, particularly when combined with a plastic bag, is a topic that raises many questions. This article will explore the process, benefits, and considerations involved in this installation, providing a comprehensive guide for those interested in understanding how to do it effectively. By delving into each aspect of the installation, we aim to equip you with the knowledge needed to make the most of this practical solution.
Table of Contents
Understanding the Hotor Brace
What is a Hotor Brace?
A Hotor brace is a specialized device designed to provide support and stability to various structures or items. It is commonly used in automotive applications, particularly for organizing and securing items within a vehicle. The brace is typically made from durable materials that can withstand stress and strain, ensuring that it performs effectively over time. Its design often incorporates features that allow for easy installation and removal, making it a versatile tool for anyone looking to enhance their vehicle’s organization. Additionally, the Hotor brace can be used in various settings beyond automotive applications, such as in homes or offices, where it can help manage clutter and improve efficiency.
Why Use a Plastic Bag with a Hotor Brace?
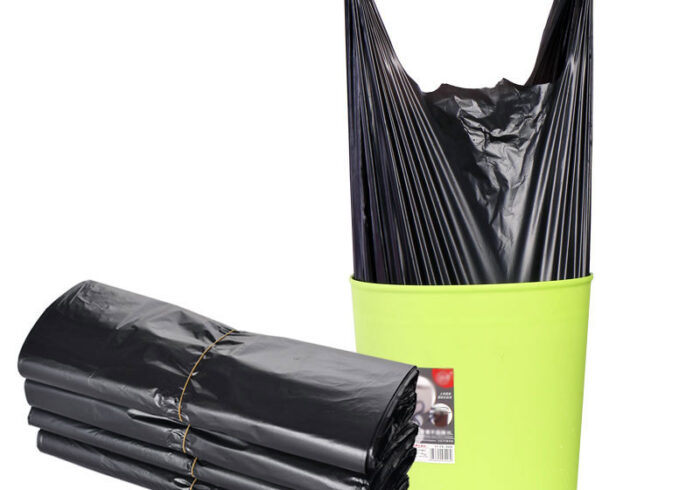
The integration of a plastic bag with a Hotor brace serves multiple purposes. Primarily, it helps in organizing items, preventing spills, and maintaining cleanliness within the vehicle. The plastic bag acts as a containment unit, allowing for easy disposal of waste or storage of items without the risk of them falling out or becoming disorganized. This is particularly useful during long trips or daily commutes, where items can easily shift and create a mess. Furthermore, using a plastic bag can also protect the contents from dust and dirt, ensuring that everything remains clean and accessible. The combination of the Hotor brace and a plastic bag not only enhances functionality but also contributes to a more pleasant driving experience.
The Installation Process
Preparing for Installation
Before beginning the installation of a Hotor brace with a plastic bag, it is essential to gather all necessary materials. This includes the Hotor brace itself, a suitable plastic bag, and any additional tools that may be required for securing the brace in place. Ensure that the area where the installation will take place is clean and free from obstructions. Taking the time to prepare adequately can save you from potential frustrations during the installation process. Additionally, reviewing the manufacturer’s instructions for the Hotor brace can provide valuable insights into specific requirements or recommendations for installation, ensuring that you achieve the best results.
Step-by-Step Installation Guide
1. Position the Hotor Brace: Start by determining the optimal location for the Hotor brace within your vehicle. This could be on the back of a seat, in the trunk, or any other area where you need additional support or organization. Consider factors such as accessibility and visibility when choosing the location, as this will impact how easily you can use the brace and the attached bag.
2. Secure the Brace: Using the provided fasteners or clips, secure the Hotor brace in place. Ensure that it is tightly fastened to prevent any movement during use. This step is crucial for maintaining the stability of the brace. If the brace is not secured properly, it may shift while driving, leading to potential hazards or damage to your vehicle. Double-check that all fasteners are tightened and that the brace is firmly anchored.
3. Attach the Plastic Bag: Once the brace is securely in place, take the plastic bag and fit it over the brace. Depending on the design of the Hotor brace, you may need to use additional clips or ties to ensure that the bag remains attached and does not slip off during use. Choosing a bag that fits snugly over the brace will enhance stability and prevent any unwanted movement.
4. Test the Installation: After everything is in place, gently tug on the plastic bag to ensure that it is securely attached to the Hotor brace. Check for any signs of instability or looseness in the brace itself. This testing phase is essential to confirm that your installation is safe and effective. If you notice any issues, take the time to make adjustments before using the brace.
5. Final Adjustments: Make any necessary adjustments to the positioning of the brace or the bag to ensure optimal functionality. This may involve repositioning the brace slightly or tightening the fasteners. Ensuring that everything is in its proper place will enhance the overall effectiveness of the installation and provide peace of mind while driving.

Benefits of Using a Hotor Brace with a Plastic Bag
Enhanced Organization
One of the primary benefits of using a Hotor brace with a plastic bag is the enhanced organization it provides. The brace allows for the secure placement of the bag, which can hold various items, from trash to personal belongings. This organization helps keep the vehicle tidy and reduces clutter. A well-organized vehicle not only looks better but also makes it easier to find what you need when you need it. This is especially important for families or individuals who frequently travel with multiple items, as it minimizes the time spent searching for lost belongings.
Easy Maintenance
With a plastic bag in place, maintenance becomes significantly easier. When the bag is full, it can be easily removed and replaced without needing to clean the entire area. This feature is particularly beneficial for busy individuals who may not have time for extensive cleaning. Regularly replacing the bag helps maintain a clean environment, reducing odors and preventing the buildup of dirt and debris. Additionally, the ease of maintenance encourages users to keep their vehicles organized, leading to a more pleasant driving experience.
Versatility
The combination of a Hotor brace and a plastic bag is versatile and can be adapted for various uses. Whether you need to store groceries, carry sports equipment, or manage waste, this setup can accommodate different needs effectively. The ability to customize the contents of the plastic bag allows users to tailor the organization system to their specific requirements. This versatility makes the Hotor brace an invaluable tool for anyone looking to enhance their vehicle’s functionality.
Common Challenges and Solutions
Difficulty in Securing the Brace
One common challenge during installation is securing the Hotor brace properly. If the brace is not fastened tightly, it may shift or become loose over time. To address this, ensure that you are using the correct fasteners and that they are tightened adequately. If you find that the provided fasteners are not sufficient, consider using additional hardware or adhesive solutions to enhance stability. Regularly checking the tightness of the brace can also help prevent issues down the line.
Plastic Bag Slipping Off
Another issue that may arise is the plastic bag slipping off the brace. This can be frustrating, especially if the bag is meant to hold items securely. To prevent this, consider using additional clips or ties to secure the bag to the brace more firmly. Additionally, selecting a bag with a more textured surface or one that is designed to fit snugly over the brace can help reduce slippage. Regularly inspecting the attachment points can also ensure that everything remains secure during use.
Limited Space
In some vehicles, space may be limited, making it challenging to install the Hotor brace effectively. If you encounter this issue, look for alternative locations within the vehicle where the brace can be installed without compromising functionality. Creative solutions, such as utilizing under-seat storage or attaching the brace to less conventional areas, can help maximize space. Additionally, consider the size and design of the Hotor brace to ensure it fits well within your vehicle’s dimensions.
Conclusion
Installing a Hotor brace with a plastic bag is a practical solution for enhancing organization and cleanliness within your vehicle. By following the outlined steps and considering the benefits and challenges, you can effectively implement this installation to suit your needs. Whether for personal use or to maintain a tidy environment, this combination proves to be a valuable addition to any vehicle. The ease of installation, coupled with the numerous benefits, makes the Hotor brace an essential tool for anyone looking to improve their vehicle’s functionality and organization.
How To Purchase:https://looperbuy.com/search?keywords=plastic+bag
Frequently Asked Questions
1. What materials are used in a Hotor brace?
Hotor braces are typically made from durable plastics or metals designed to withstand stress and provide stability. The choice of materials ensures that the brace can handle various loads and conditions, making it suitable for different applications.
2. Can I use any plastic bag with a Hotor brace?
While you can use various plastic bags, it is advisable to choose bags that are sturdy and appropriately sized for the brace to ensure effective use. Selecting the right bag can enhance the overall performance of the installation.
3. How often should I replace the plastic bag?
The frequency of replacement depends on usage. If the bag is used for trash, it should be replaced regularly to maintain cleanliness. For other uses, inspect the bag periodically for wear and tear to determine when it needs replacing.
4. Is the installation of a Hotor brace complicated?
No, the installation process is straightforward and can typically be completed in a few simple steps. With proper preparation and attention to detail, most users can install the brace without any issues.
5. Can a Hotor brace be used in other applications besides vehicles?
Yes, Hotor braces can be used in various settings, including homes and offices, for organizing and securing items. Their versatility makes them a valuable tool for anyone looking to manage clutter effectively.