In today’s fast-paced world, our smartphones are more than just communication devices; they are our lifelines. A broken screen on your Samsung phone can be a frustrating experience, but fear not! This guide will walk you through the steps to fix a broken Samsung phone screen, whether you choose to do it yourself or seek professional help.

Table of Contents
Understanding the Problem
Common Causes of Screen Damage
Smartphone screens are susceptible to damage from various sources. Understanding these causes can help you prevent future incidents:
- Accidental Drops: The most common reason for a cracked screen. A simple slip can lead to significant damage.
- Pressure: Sitting on your phone or placing heavy objects on it can cause cracks.
- Water Damage: Exposure to moisture can lead to screen malfunction, even if the screen appears intact.
- Manufacturing Defects: Occasionally, screens may have inherent weaknesses that lead to cracks over time.
Signs of a Broken Screen
Identifying the type of damage is crucial for determining the repair method. Look for:
- Cracks or Chips: Visible damage on the glass surface.
- Black Spots or Lines: Indications of internal damage, often due to pressure or impact.
- Touch Sensitivity Issues: If the screen is unresponsive or erratic, it may need replacement.
DIY Repair: Is It Worth It?
Pros and Cons of DIY Repairs
Before diving into a DIY repair, consider the advantages and disadvantages:
Pros
- Cost-Effective: Repairing the screen yourself can save money compared to professional services.
- Learning Experience: Gaining hands-on experience can be rewarding and useful for future repairs.
Cons
- Risk of Further Damage: Without proper tools and experience, you may inadvertently cause more harm.
- Voiding Warranty: Many manufacturers void warranties if unauthorized repairs are attempted.
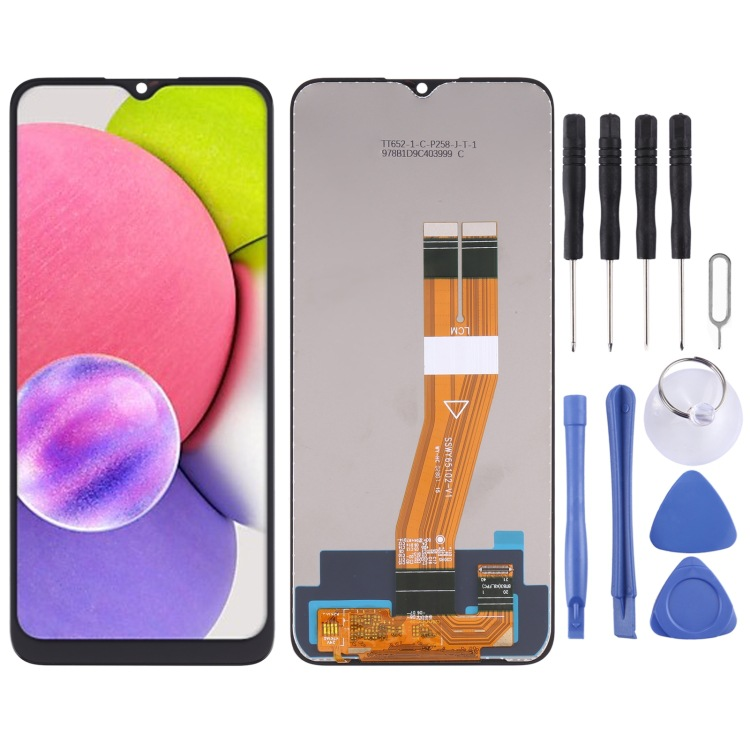
Tools You’ll Need
If you decide to proceed with a DIY repair, gather the following tools:
- Screwdriver Set: For removing screws from the phone casing.
- Plastic Pry Tools: To safely open the phone without damaging the casing.
- Replacement Screen: Ensure it is compatible with your specific Samsung model.
- Adhesive: For securing the new screen in place.
- Heat Gun or Hair Dryer: To soften adhesive and make screen removal easier.
Step-by-Step Guide to Fixing Your Samsung Screen
Step 1: Prepare Your Workspace
Choose a clean, well-lit area to work. Lay down a soft cloth to prevent scratches on your phone. Ensure you have all your tools within reach to avoid interruptions during the repair process.
Step 2: Power Off Your Device
Before starting any repair, ensure your phone is completely powered off to avoid electrical damage. This step is crucial for your safety and the integrity of the device.
Step 3: Remove the Back Cover
Using a plastic pry tool, carefully detach the back cover of your Samsung phone. Be gentle to avoid cracking the casing. Some models may have adhesive that requires heating to loosen.
Step 4: Disconnect the Battery
Locate the battery connector and gently disconnect it. This step is crucial to prevent any electrical issues during the repair. Always prioritize safety by ensuring the device is powered down.
Step 5: Remove the Broken Screen
Using a heat gun or hair dryer, apply heat around the edges of the screen to soften the adhesive. Carefully use the plastic pry tool to lift the screen away from the body of the phone. Take your time with this step to avoid damaging any internal components.
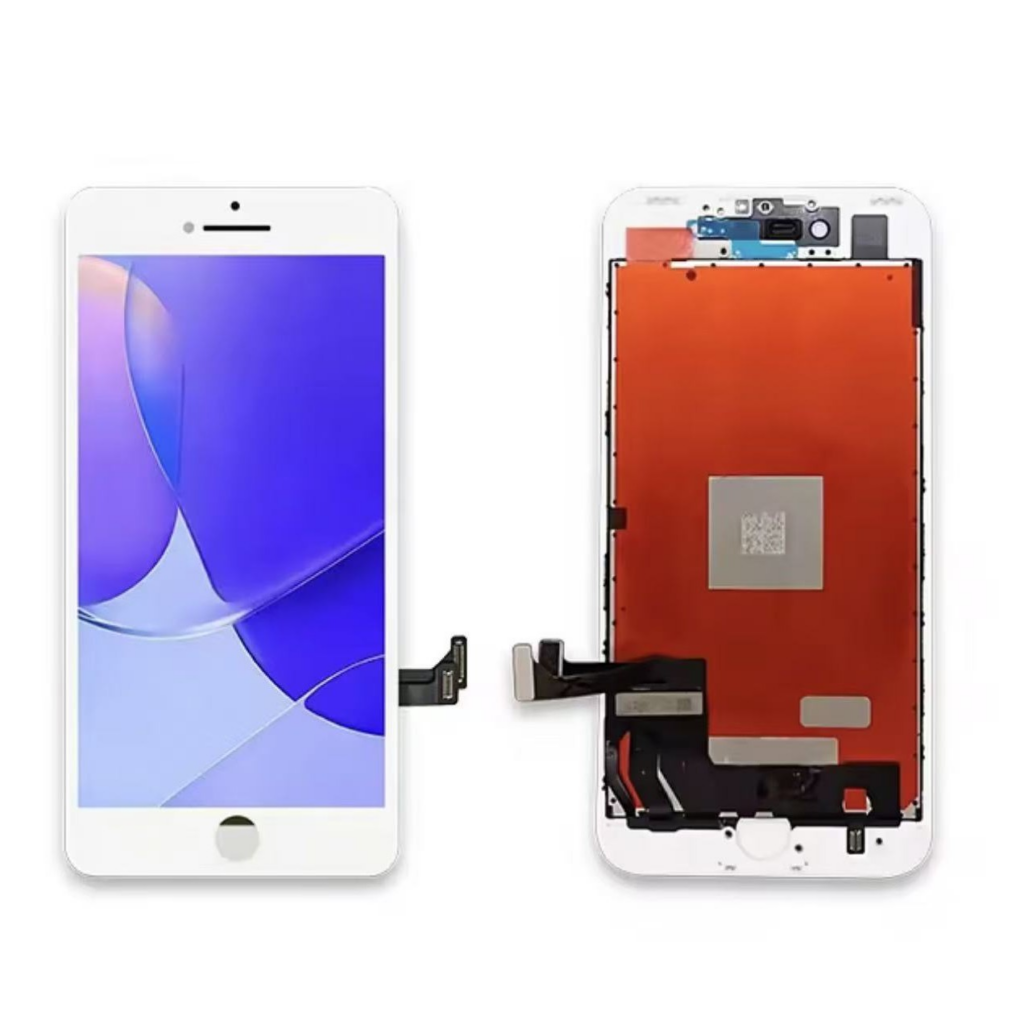
Step 6: Install the New Screen
Align the new screen with the phone body and press it into place. Ensure that all connectors are securely attached. It’s essential to follow the manufacturer’s instructions for the specific model to ensure compatibility.
Step 7: Reassemble Your Phone
Reconnect the battery and replace the back cover. Power on your device to test the new screen. Check for responsiveness and clarity to ensure the repair was successful.
Seeking Professional Help
When to Consider Professional Repair
If the damage is extensive or if you are uncomfortable performing the repair yourself, seeking professional help is advisable. Here are some scenarios where professional repair is the best option:
- Severe Damage: If the screen is shattered beyond repair or if there are internal issues.
- Warranty Considerations: If your phone is still under warranty, professional repair may be covered.
- Time Constraints: If you need your phone fixed quickly, professionals can often provide same-day service.
Finding a Reliable Repair Service
When looking for a repair service, consider the following:
- Authorized Service Centers: Samsung has authorized repair centers that use genuine parts and trained technicians. This ensures that your device is handled with care and expertise.
- Customer Reviews: Check online reviews to gauge the quality of service. Websites like Yelp or Google Reviews can provide insights into customer experiences.
- Warranty on Repairs: Ensure the service offers a warranty on their repairs for peace of mind. A good warranty can protect you from future issues related to the repair.
Cost of Repairing a Samsung Screen
DIY vs. Professional Repair Costs
- DIY Repair: The cost of a replacement screen can range from $50 to $200, depending on the model. This option is often more affordable but requires a level of skill and comfort with technology.
- Professional Repair: Expect to pay between $150 and $300 for professional services, depending on the extent of the damage and the model of your phone. This option provides peace of mind and often comes with a warranty.
Insurance and Warranty Options
If you have Samsung Care+ or another insurance plan, check if screen repairs are covered. This can significantly reduce your out-of-pocket expenses. Many insurance plans offer low deductibles for screen repairs, making it a cost-effective option.
Preventing Future Damage
Tips for Protecting Your Samsung Screen
Once your screen is repaired, consider these tips to prevent future damage:
- Use a Screen Protector: Investing in a high-quality screen protector can help absorb shocks and prevent scratches. Tempered glass protectors are particularly effective.
- Get a Durable Case: A sturdy case can provide additional protection against drops and impacts. Look for cases that offer military-grade protection for maximum safety.
- Be Mindful of Your Surroundings: Always be aware of where you place your phone. Avoid putting it in precarious positions where it could easily fall.
- Avoid Excessive Pressure: Don’t sit on your phone or place heavy items on top of it, as this can lead to cracks.
Regular Maintenance
Regularly check your phone for any signs of wear and tear. Addressing minor issues early can prevent them from becoming major problems. Clean your phone regularly to remove dust and debris that can scratch the screen. Use a microfiber cloth to avoid scratching the surface.
Additional Considerations
What to Do After a Repair
After successfully repairing your screen, it’s essential to monitor your device for any unusual behavior. If you notice any issues, such as flickering or unresponsive areas, consult a professional immediately. Additionally, keep your device updated with the latest software to ensure optimal performance.
How to Choose the Right Screen Protector
When selecting a screen protector, consider the following factors:
- Material: Tempered glass protectors offer better protection against drops compared to plastic ones.
- Thickness: Thicker protectors provide more protection but may affect touch sensitivity.
- Clarity: Ensure the protector maintains the screen’s clarity and does not distort colors.
How Does Samsung Care+ Compare to Other Phone Insurance Plans?
Samsung Care+ offers several benefits, including:
- Accidental Damage Coverage: Covers repairs for accidental damage, including screen cracks.
- Low Deductibles: Typically lower than many third-party insurance plans.
- Convenient Repair Options: Access to authorized repair centers and same-day service in many locations.
When comparing Samsung Care+ to other insurance plans, consider the coverage limits, deductibles, and the reputation of the service provider. Some third-party plans may offer more extensive coverage, but they often come with higher deductibles.
Common Mistakes to Avoid During DIY Repairs
When attempting a DIY screen repair, be aware of these common pitfalls:
- Rushing the Process: Take your time to avoid mistakes. Hurrying can lead to missed steps or improper installation.
- Using Incorrect Tools: Ensure you have the right tools for the job. Using the wrong tools can damage your phone further.
- Neglecting to Back Up Data: Always back up your data before starting any repair. This ensures you don’t lose important information if something goes wrong.
- Ignoring Manufacturer Instructions: Follow the specific instructions for your model. Each Samsung phone may have different repair procedures.
Backing Up Your Data Before Repair
Before attempting any repairs, it’s crucial to back up your data to prevent loss. Here are some methods to do so:
- Samsung Cloud: Use Samsung Cloud to back up your contacts, photos, and other important data.
- Google Drive: Sync your data with Google Drive for easy access and backup.
- External Storage: Transfer files to an external hard drive or USB stick for safekeeping.
Environmental Considerations When Disposing of a Broken Phone Screen
When disposing of a broken screen, consider the following environmental factors:
- E-Waste Recycling: Many components of smartphones can be recycled. Look for local e-waste recycling programs to dispose of your broken screen responsibly.
- Hazardous Materials: Phone screens may contain materials that can be harmful to the environment. Proper disposal is essential to prevent pollution.
- Donation Options: If the phone is still functional aside from the screen, consider donating it to organizations that refurbish devices for those in need.
Conclusion
How to purchase:https://looperbuy.com/search?keywords=fix+broken+samsung+phone+screen&globalType=china
Fixing a broken Samsung phone screen can be a straightforward process if you are equipped with the right tools and knowledge. Whether you choose to tackle the repair yourself or seek professional help, understanding the steps involved can make the experience less daunting. Remember to weigh the pros and cons of DIY repairs and consider your comfort level with technology before proceeding. By taking preventive measures and being mindful of your device’s care, you can extend the life of your Samsung phone and keep it looking great.
Frequently Asked Questions
1. How much does it cost to fix a Samsung phone screen?
The cost can range from $50 for DIY repairs to $300 for professional services, depending on the model and extent of the damage.
2. Can I fix my Samsung screen myself?
Yes, if you have the right tools and are comfortable with technology, you can attempt a DIY repair.
3. What should I do if my screen is cracked but still functional?
If the screen is still usable, consider using a screen protector to prevent further damage until you can get it repaired.
4. How long does it take to repair a Samsung screen?
DIY repairs can take a few hours, while professional repairs may be completed the same day, depending on the service.
5. Will repairing my screen void my warranty?
Yes, unauthorized repairs can void your warranty. Always check with Samsung or your service provider before attempting repairs.
HOT TAG: Samsung phone repair, cracked screen solutions, DIY screen replacement, professional repair services, Samsung Care+ benefits, smartphone maintenance tips, screen protector recommendations, backing up phone data, environmental e-waste disposal, common repair mistakes, phone repair tools, authorized service centers, cost-effective repairs, protecting your device, smartphone care strategies.