When it comes to packing a lunch, whether for work, school, or a picnic, keeping your food fresh and at the right temperature is essential. Ice packs have become a staple in lunch packing, ensuring that meals remain safe to eat and enjoyable. In this article, we will explore the various types of ice packs available, their benefits, how to use them effectively, and tips for selecting the right one for your needs.
Table of Contents
Understanding Ice Packs
Ice packs are designed to maintain the temperature of food items by absorbing heat. They come in various shapes, sizes, and materials, making them suitable for different types of lunch boxes and bags. Here are some common types of ice packs:
– Gel Packs: Filled with a gel that freezes solid, these packs are flexible and can conform to the shape of your lunch box.
– Hard Ice Packs: Typically made of plastic and containing a freezing liquid, these are more rigid but can provide longer-lasting cooling.
– Refreezable Ice Packs: These packs can be frozen repeatedly without losing their cooling properties. They are convenient for daily use.
– Built-in Ice Packs: Some lunch bags come with integrated ice packs that freeze when the bag is placed in the freezer. This eliminates the need to carry separate ice packs.
Benefits of Using Ice Packs
Using ice packs in your lunch box offers several advantages:
– Food Safety: Keeping perishable items at safe temperatures prevents bacterial growth. Foods left at room temperature can become unsafe within just two hours, especially in warm conditions.
– Freshness: Ice packs help maintain the texture and flavor of food, ensuring that your meals taste as good as they should.
– Convenience: They make it easier to transport meals without worrying about spoilage.
– Versatility: Ice packs can be used in various settings—school lunches, office meals, picnics, or road trips.
How to Use Ice Packs Effectively
To maximize the effectiveness of ice packs in your lunch box:
1. Choose the Right Size: Select an ice pack that fits well in your lunch box without overcrowding it.
2. Pre-Freeze Properly: Ensure that your ice pack is fully frozen before packing it with your food.
3. Layering: Place the ice pack on top of or around your food items to ensure even cooling.
4. Use Multiple Packs: For longer trips or particularly hot days, consider using multiple ice packs to maintain lower temperatures.
5. Combine with Insulated Containers: Pairing ice packs with insulated containers can enhance cooling efficiency.
Choosing the Right Ice Pack for Your Needs
When selecting an ice pack for your lunch box, consider the following factors:
– Material: Look for BPA-free materials if you are concerned about chemicals leaching into food.
– Shape and Size: Depending on your lunch box’s design, you may need different shapes (e.g., flat vs. bulky).
– Freezing Time: Some ice packs freeze faster than others; consider how quickly you need them ready before packing.
– Durability: Choose ice packs that can withstand multiple freezes without breaking down.
Popular Brands and Products
Several brands offer high-quality ice packs suitable for lunch boxes:
– PackIt: Known for their innovative freezable lunch bags that incorporate cooling gel directly into the bag material. This eliminates the need for separate ice packs altogether.
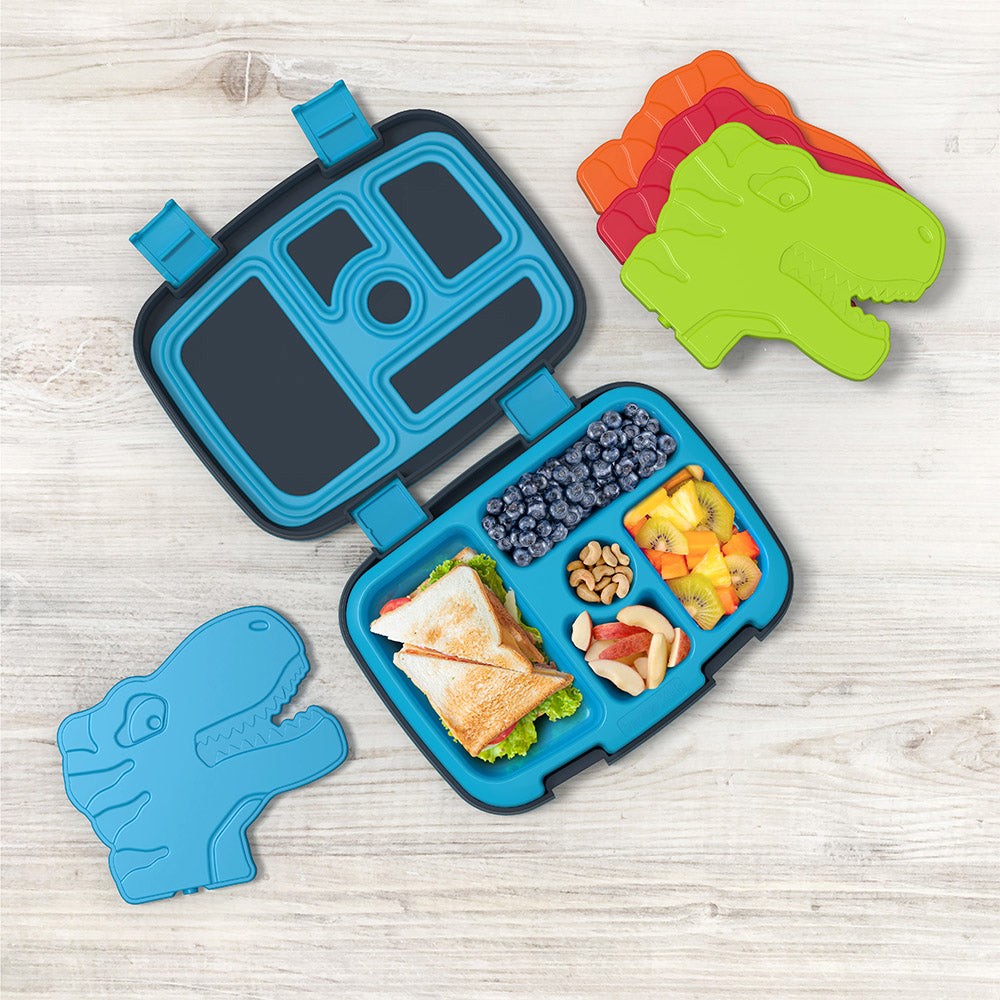
– Bentgo: Offers BPA-free ice packs designed specifically for keeping meals cool during transport. Their products freeze quickly and fit well in most lunch boxes.
– Rubbermaid Reusable Ice Pack: A reliable choice known for its durability and effectiveness in keeping lunches cold for hours.
– Fit & Fresh Shaped Ice Packs: These non-toxic, long-lasting ice packs come in fun designs like butterflies and dinosaurs, making them appealing for kids while being effective.
Tips for Packing a Lunch with Ice Packs
To ensure your packed lunch stays fresh:
– Pack drinks separately from food items to reduce condensation.
– Use insulated containers for items like yogurt or salads that require extra cooling.
– Consider adding frozen fruits or vegetables as natural coolers that can also serve as snacks later on.
DIY Ice Pack Solutions
If you find yourself without an ice pack or want a quick solution, here are some DIY options:
– Frozen Water Bottles or Juice Boxes: Freeze a water bottle or juice box overnight. Place it in the lunch bag alongside your food; it will keep everything cool while providing a drink later on.
– Sponge Ice Pack: Soak a clean sponge in water, place it in a resealable plastic bag, and freeze it overnight. This method is effective but be cautious as sponges can harbor bacteria if not cleaned properly after use.
Eco-Friendly Options
For environmentally conscious consumers, consider using eco-friendly ice packs made from biodegradable materials or those designed to be reused multiple times. Brands like EcoGel offer semi-solid gel that is both effective and less harmful to the environment when disposed of properly.
Conclusion
Ice packs are essential tools for anyone looking to keep their lunches fresh and safe. With various options available on the market, understanding how to use them effectively can enhance your meal experience. Whether you’re heading to work or school, investing in quality ice packs will ensure you enjoy delicious meals at their best temperature.
How to purchase:https://looperbuy.com/search?keywords=Ice+Packs+for+Lunch+Boxes
Frequently Asked Questions
1. How long do ice packs keep food cold?
– The duration varies depending on the type of ice pack and external temperatures but generally ranges from 4 to 12 hours.
2. Can I reuse gel ice packs?
– Yes, gel ice packs are designed for repeated use; just refreeze them after each use.
3. Are there any safety concerns with using ice packs?
– Ensure that any plastic used is BPA-free to avoid chemical leaching into food.
4. What should I do if my ice pack leaks?
– Dispose of it immediately if it leaks; many contain non-toxic gel but should not be ingested.
5. Can I make my own ice pack?
– Yes! You can fill a resealable plastic bag with water and freeze it or use dish soap as an alternative.